
Installing OPNsense on 10-Gbit firewall hardware with an external DHCP server
OPNsense is a FreeBSD-based firewall and routing platform aimed at professional and semi-professional network environments. This article describes a clean bare-metal installation of OPNsense on dedicated 10-Gbit hardware, using an external DHCP server and avoiding virtualization.
The focus is on correct interface selection, IP design, WAN configuration, and avoiding common pitfalls during initial setup.
Hardware platform
The firewall is installed on an Intel N305-based appliance with the following characteristics:
• 2 × 10 GbE SFP plus ports based on Intel 82599ES
• 3 × 2.5 GbE ports based on Intel i226 V
• AES NI support
• NVMe storage
• Bare-metal deployment
This platform is well supported by FreeBSD and suitable for sustained high-throughput workloads without PCI passthrough or hypervisor overhead.
Booting from USB and installer behavior
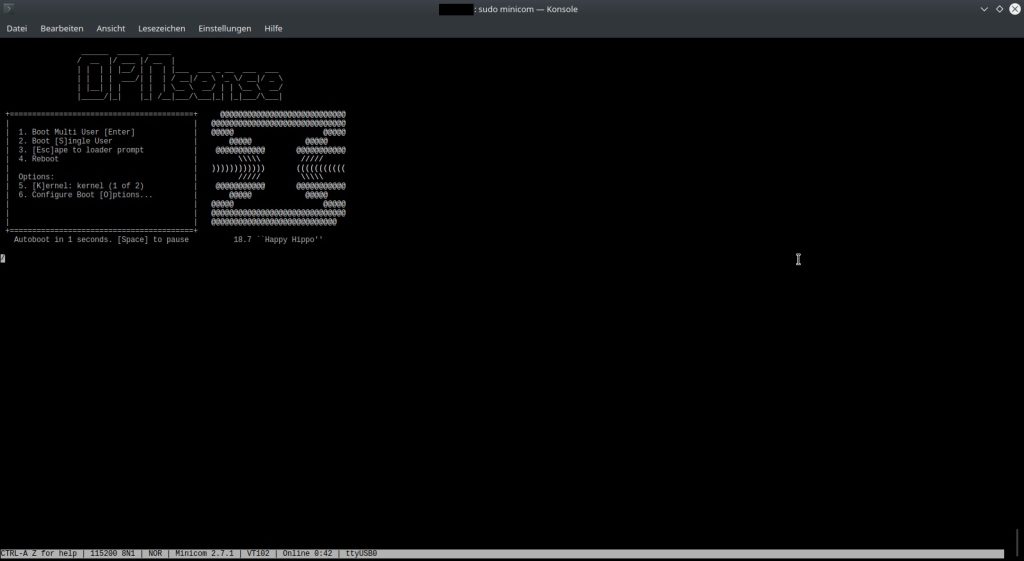
When booting from a USB stick, OPNsense presents a fully functional live environment. The console menu and interface are visually identical to those of an installed system, which can be misleading.
Important detail:
The installer does not start automatically. The actual installation must be explicitly started from the shell by selecting a ZFS or UFS installation. Only after this step is the system copied from the USB stick to internal storage. I have chosen for a ZFS file system.
Choosing ZFS on a single disk
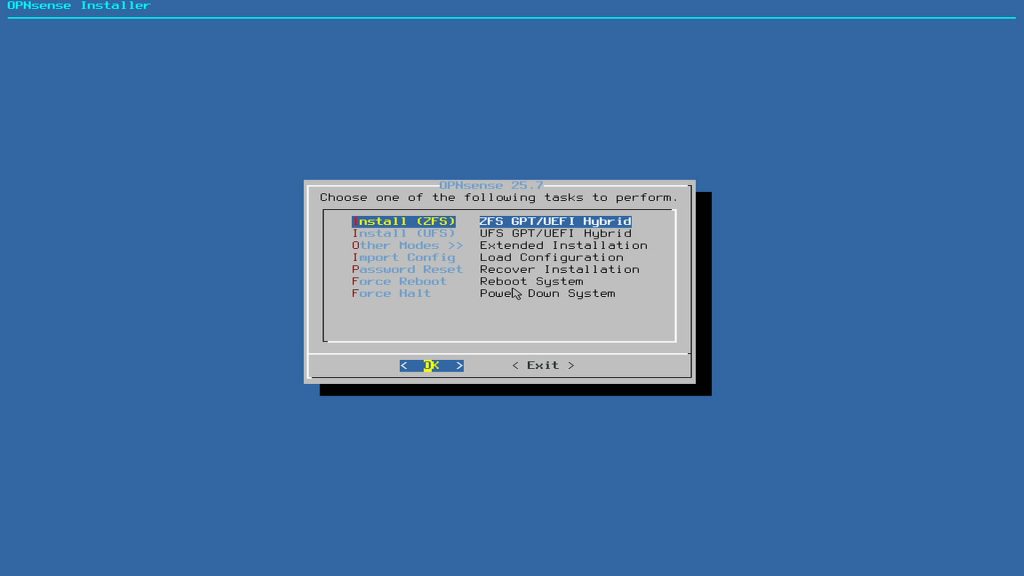
Even with only one NVMe disk available, ZFS remains a sensible choice.
Reasons include:
• Support for boot environments
• Safe rollback after system updates
• Better consistency and error detection than UFS
• Predictable upgrade behavior
While disk redundancy is not present, the ability to revert system state is particularly valuable for firewall appliances.
Interface assignment for 10-Gbit WAN and LAN
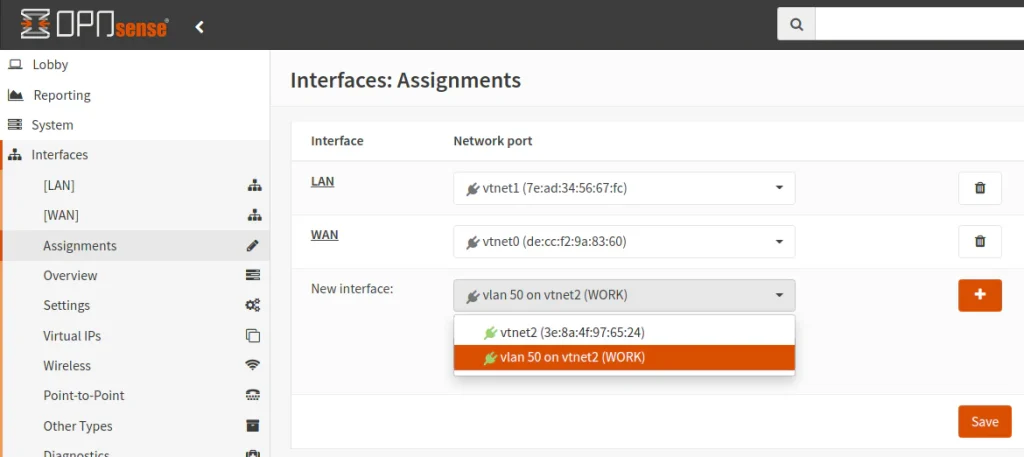
The appliance provides two 10-GbE SFP plus interfaces and three 2.5-GbE RJ45 interfaces.
The following assignments were used:
WAN
ix0
10-GbE SFP plus
LAN
ix1
10-GbE SFP plus
The 2.5-GbE interfaces were left unassigned during the initial setup and can later be used for management, segmented networks, or DMZs.
Link aggregation was deliberately not configured. With single 10-GbE links, LAGG provides no practical benefit.
LAN IP design and gateway logic
The firewall operates with two distinct network roles:
WAN side
Receives addressing and routing information from the ISP
LAN side
Acts as the default gateway for internal devices
The LAN interface was assigned an address from the private 10.0.0.0 slash 24 range.
Example:
Firewall LAN IP
10.0.0.1
This address becomes the gateway for all internal clients. The ISP gateway is irrelevant on the LAN side. Using a 10.x.x.x range avoids conflicts with VPNs, hotel networks, and default ISP configurations that commonly use 192.168.x.x.
External DHCP server design
In this setup, DHCP is not handled by the firewall. A separate machine provides DHCP services.
As a result:
• DHCP on the OPNsense LAN interface is disabled
• Only one DHCP server exists per subnet
• OPNsense focuses solely on routing and security
This approach aligns more closely with enterprise network designs than with consumer router configurations.
IPv6 decisions during initial setup
During console configuration, OPNsense prompts for several IPv6-related settings.
The following choices were made:
• WAN IPv6 disabled initially
• No LAN IPv6 address configured
• DHCPv6 not enabled during installation
• WAN tracking disabled during setup
This produces a stable IPv4-only baseline. IPv6 can later be enabled in a controlled manner once ISP support and prefix delegation behavior are confirmed.
WAN configuration with a static IP delivered via DHCP
Although the internet connection uses a static IP contract, the address is delivered by the ISP via DHCP. This is common in business fiber deployments.
Correct WAN configuration in this case:
• IPv4 configuration type set to DHCP
• No manually entered IP address
• No manually defined gateway
The ISP DHCP server consistently provides the same public IP and gateway while retaining flexibility on the provider side.
Web interface protocol during setup
During initial configuration, the web interface was temporarily switched from HTTPS to HTTP.
Rationale:
• No self-signed certificate warnings
• Easier troubleshooting during early network changes
• Faster access while IP addressing and routing are being finalized
Once the system is stable, HTTPS can be re-enabled with an appropriate certificate.
Resulting architecture
The final configuration consists of:
• Bare-metal OPNsense installation
• ZFS with boot environments
• 10-GbE WAN and LAN via SFP plus
• External DHCP server
• IPv4-only base configuration
• Prepared for later IPv6 and network segmentation
This setup provides a stable and scalable foundation for further expansion, including VLANs, VPN services, and intrusion detection.