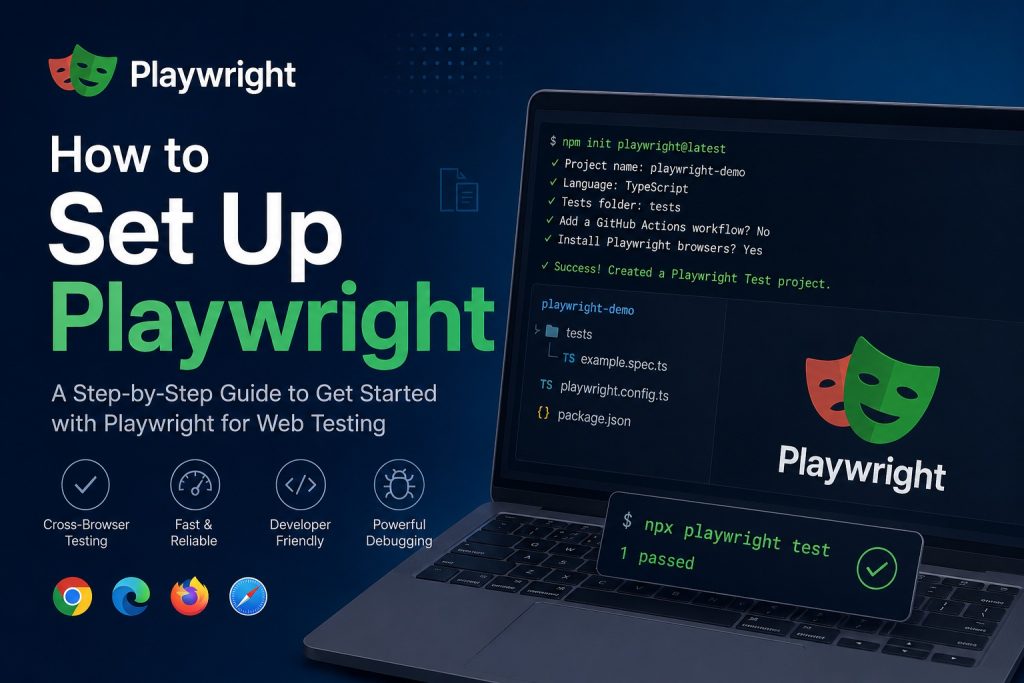
Playwright is a modern browser automation framework developed by Microsoft. It can be used to test websites in Chromium, Firefox and WebKit using a single testing API.
Playwright Test includes a test runner, assertions, browser isolation, parallel execution, debugging tools and HTML reports. Tests can run on Windows, Linux and macOS, either locally or inside a continuous integration environment.
In this tutorial, we will create a new Playwright project using Node.js and TypeScript, write a first test and explore several ways to run and debug it.
Prerequisites
Before installing Playwright, make sure that Node.js is installed.
Open a terminal and check the installed versions:
node --version
npm --version
When both commands return a version number, the environment is ready.
A code editor such as Visual Studio Code is also recommended. Microsoft provides an official Playwright extension that can run and debug tests directly from the editor.
1. Create a project directory
Create a new directory for the Playwright project:
mkdir playwright-demo
cd playwright-demo
The directory will contain the tests, configuration and project dependencies.
2. Install Playwright
The easiest way to create a new Playwright project is with the official initialization command:
npm init playwright@latest
The installer asks several questions.
A typical configuration is:
Language: TypeScript
Tests folder: tests
Add a GitHub Actions workflow: optional
Install Playwright browsers: yes
Install Playwright operating system dependencies? no
TypeScript is a good default choice because Playwright supports it directly. Tests can be written in TypeScript without manually configuring an additional compilation process.
The installer creates a basic Playwright project and downloads the required browser binaries.
The project structure will look similar to this:
playwright-demo/
    tests/
        example.spec.ts
    playwright.config.ts
    package.json
    package-lock.json
The tests directory contains the test files.
The playwright.config.ts file contains the central configuration for the test suite. It can define browsers, timeouts, retries, reporters, screenshots, traces and other execution settings.
3. Install browser dependencies on Linux
Playwright uses its own compatible browser versions. These browser binaries are separate from browsers such as Google Chrome or Firefox that may already be installed on the computer.
To install the Playwright browsers manually, run:
npx playwright install
On Linux, additional operating system libraries may also be required.
They can be installed with:
sudo npx playwright install-deps
The browsers and their dependencies can also be installed in one operation:
sudo npx playwright install --with-deps
To save storage space, it is possible to install only the browser that will actually be used:
sudo npx playwright install --with-deps chromium
Installing only the necessary browser can reduce download time and storage usage, especially inside continuous integration environments.
4. Write the first Playwright test
Open the tests directory and create a file named:
homepage.spec.ts
Add the following test:
import { test, expect } from '@playwright/test';

test('homepage loads correctly', async ({ page }) => {
  await page.goto('https://example.com');

  await expect(page).toHaveTitle(/Example Domain/);

  await expect(
    page.getByRole('heading', { name: 'Example Domain' })
  ).toBeVisible();
});
The first line imports test and expect from the Playwright Test package.
import { test, expect } from '@playwright/test';
The test function defines the test case.
The page object represents a browser tab. Playwright creates a clean browser context for the test and provides the page through the test fixture.
await page.goto('https://example.com');
This command opens the website.
await expect(page).toHaveTitle(/Example Domain/);
This assertion verifies that the page title contains the expected text.
The final assertion finds a heading by its accessible role and name:
await expect(
  page.getByRole('heading', { name: 'Example Domain' })
).toBeVisible();
Locating elements by role usually produces tests that are readable and closely related to how users interact with the interface.
5. Run the test
Run all tests in the project with:
npx playwright test
Playwright runs tests in headless mode by default. This means that the browser operates in the background without displaying a browser window.
A successful result will look similar to this:
1 passed
To run only the new test file, use:
npx playwright test homepage.spec.ts
A test can also be selected by its title:
npx playwright test -g "homepage loads correctly"
6. Watch the test in a browser
During development, it is often useful to see what the test is doing.
Run the test in headed mode:
npx playwright test homepage.spec.ts --headed
A browser window will open and Playwright will perform the actions visibly.
Headed mode is useful for a quick visual check, although the browser may execute and close very quickly.
7. Run the test more slowly
Playwright does not provide a general command line option called slow for normal test execution. Slow motion can instead be configured through the browser launch options.
Open playwright.config.ts and add a slowMo value:
import { defineConfig } from '@playwright/test';

export default defineConfig({
  use: {
    launchOptions: {
      slowMo: 500,
    },
  },
});
The value is expressed in milliseconds. In this example, Playwright waits approximately 500 milliseconds between browser operations.
Now run:
npx playwright test homepage.spec.ts --headed
Slow motion is useful for demonstrations and for understanding the sequence of interactions. It should normally be disabled during regular automated test execution because it increases the total execution time.
8. Use Playwright UI Mode
Playwright includes an interactive interface for running and inspecting tests.
Start it with:
npx playwright test --ui
UI Mode displays all test files and lets you run individual tests. It also provides watch mode, locator inspection, execution details and a visual history of the test steps.
This is one of the most practical ways to develop Playwright tests because it provides considerably more information than terminal output alone.
9. Debug a test
A test can be opened in the Playwright Inspector with:
npx playwright test homepage.spec.ts --debug
The Inspector lets you pause execution, continue step by step, inspect the page and experiment with locators.
A test can also be debugged from a specific line:
npx playwright test homepage.spec.ts:3 --debug
The number after the colon refers to the line where the test is defined.
Another useful debugging technique is to pause the test directly:
test('homepage loads correctly', async ({ page }) => {
  await page.goto('https://example.com');

  await page.pause();

  await expect(page).toHaveTitle(/Example Domain/);
});
When the test reaches page.pause(), the Inspector opens and waits for further input.
10. Run tests in different browsers
Playwright can execute the same tests in Chromium, Firefox and WebKit.
Run a test in Chromium:
npx playwright test --project=chromium
Run it in Firefox:
npx playwright test --project=firefox
Run it in WebKit:
npx playwright test --project=webkit
The available projects are configured inside playwright.config.ts. Projects can represent different browser engines, desktop environments or emulated mobile devices.
Testing in several browser engines helps detect compatibility problems that may not appear in the developer’s primary browser.
11. Open the HTML report
After running the tests, open the Playwright HTML report with:
npx playwright show-report
The report contains the result of each test, execution duration and failure details.
Depending on the configuration, failed tests can also include screenshots, videos and traces.
Video recording is disabled by default. It can be enabled in playwright.config.ts:
import { defineConfig } from '@playwright/test';

export default defineConfig({
  use: {
    video: 'retain-on-failure',
    screenshot: 'only-on-failure',
    trace: 'on-first-retry',
  },
});
With this configuration, videos and screenshots are retained for failed tests, while traces are recorded during the first retry.
12. A practical configuration
A useful starter configuration could look like this:
import { defineConfig, devices } from '@playwright/test';

export default defineConfig({
  testDir: './tests',

  timeout: 30_000,

  expect: {
    timeout: 5_000,
  },

  fullyParallel: true,

  retries: process.env.CI ? 2 : 0,

  reporter: 'html',

  use: {
    baseURL: 'https://example.com',
    trace: 'on-first-retry',
    screenshot: 'only-on-failure',
    video: 'retain-on-failure',
  },

  projects: [
    {
      name: 'chromium',
      use: {
        ...devices['Desktop Chrome'],
      },
    },

    {
      name: 'firefox',
      use: {
        ...devices['Desktop Firefox'],
      },
    },

    {
      name: 'webkit',
      use: {
        ...devices['Desktop Safari'],
      },
    },
  ],
});
Because a base URL is configured, tests can now use relative addresses:
await page.goto('/');
This makes the tests easier to reuse across development, acceptance and production environments.
Conclusion
A complete Playwright environment can be created with only a few commands. The standard installer creates the project structure, installs the test framework and downloads the supported browsers.
From there, tests can be executed in the terminal, watched in headed mode, explored through UI Mode or debugged step by step with the Playwright Inspector.
The basic workflow is:
npm init playwright@latest
npx playwright test
npx playwright test --headed
npx playwright test --ui
npx playwright show-report
With this foundation in place, the next step is to test a real application by navigating between pages, completing forms, checking visible content and validating how the application responds to user actions.